Meine Herren haben an Biscottis Gefallen gefunden. Seit kurzem führt der (L)aden auch Bio-Zitronen, ein Problem weniger, ungespritzte Zitronenschalen zu finden. Noch schnell die Pistazien nach dieser Methode enthäutet und die
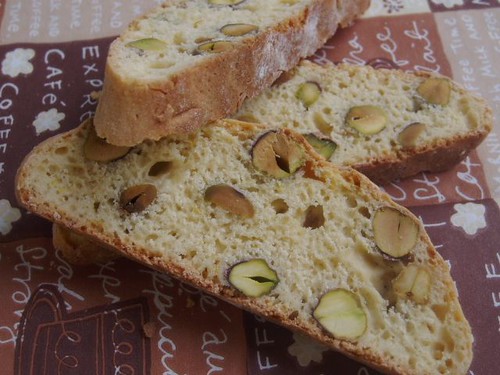
Zitronen-Pistazien-Biscotti
gebacken. Die doppelt gebackenen Kekse schmecken zitronig-frisch und nicht zu süß. Zitrone passt gut zu Pistazie.
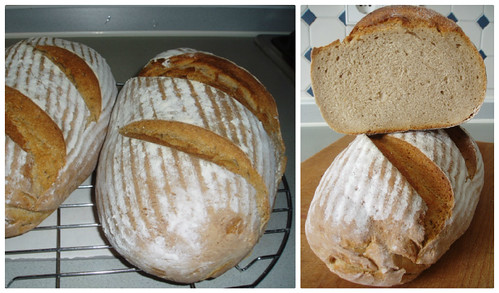
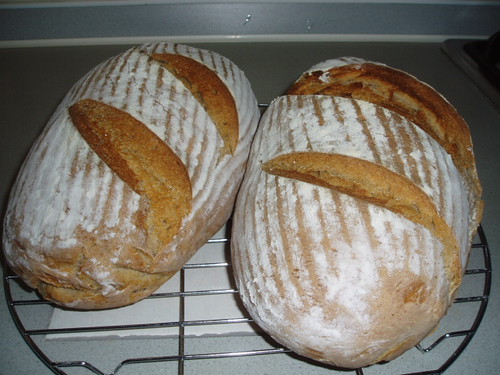
Abweichend vom englischen Originalrezept habe ich die Biscottis wieder aufrecht getrocknet.
========== REZKONV-Rezept – RezkonvSuite v1.02
Titel: Zitronen-Pistazien-Biscotti 
Kategorien: Biscotti
Menge: 60 Pieces
335 Gramm Weizenmehl 405
143 Gramm Zucker
1 Pack. Vanillezucker
1 1/2 Teel. Backpulver
180 Gramm Pistazienkerne
3 Eier, Größe L
2 Zitronen, die abgeriebene Schale
3 Essl. Zitronensaft, abgeseiht
============================== QUELLE ==============================
Cookies Unlimited, October 2000
Nick Malgieri, Harper Collins
//www.epicurious.com/recipes/recipe_views/views/104366
— Erfasst *RK* 13.01.2006 von
— Ulrike Westphal
1. Den Ofen auf 175 °C vorheizen. Ein Backblech mit Backpapier
auslegen.
2. In einer SChüssel, Mehl, Zucker und Backpulver mischen. Die
Pistazien darin verteilen..
3. In einer weiteren Schüssel die Eier mit der Zitronenschale und
dem Zitronensaft vermischen. Mit einem Gummiteigheber die Eimischung
in die trockenen Zutaten einrühren. So lange weiterrühren, bis sich
ein fester Teig bildet.
4. Den Teig in zwei Hälften teilen und auf einer leicht bemehlten
Arbeitsplatte zu Rollen formen, die etwas kürzer als das Backblech
sind. Beide Teigrollen mit genügend Abstand zueinander und von den
Rändern auf das Backblech geben. Mit den Handflächen die Teigrollen
etwas flach drücken.d
5. Die Rollen für 25 bis 30 Minuten backen, oder bis sie auf die
doppelte Größe aufgegangen sind. Die Backzeit ist beendet, wenn sie
sich bei einem Fingerabdruck fest anfühlen. Das Backblech auf ein
Gitter stellen und komplett auskühlen lassen.
6. Die Backofentemperatur auf 150 °C verringern. Jede Teigrolle
diagonal in 8 mm dicke Scheiben schneiden und aufrecht auf ein mit
Backpapier ausgelegtes Backblech stellen. Die Biscotti für weitere
15 oder 20 Minuten backen, bis sie trocken und leicht goldfarben
sind. Abkühlen lassen.
7. Die abgekühlten Biscotti zwischen Backpapier in einer luftdicht
schließenden Dose aufbewahren.
=====
Nachtrag 28.11.2006: Die Eier sind jetzt auch bei den Zutaten ;-)

 />
/>